IMPORTANT: Do not check grades, email, or anything confidential. All screen content is recorded and will be available to students. If you need to trim or cut sensitive information, you can use EchoVideo's online video editor.
Overview
EchoVideo provides different ways for your lectures to be captured for sharing with students in Canvas. In a classroom, your classes can be recorded/scheduled with or without Live Stream, or you can create ad hoc recordings in specified classrooms and view the latest technology in each classroom, view our Classroom Recording Guides - Using EchoVideo-Enabled Rooms. Outside of a classroom, videos can be made in our AV Studio utilizing a glass Lightboard or Surface Studio (multi-touch device), or on your computer (PC or Mac) with Universal Capture Personal software, or capture a video online in your browser using Browser Capture. Lastly, if you have recorded lectures on another platform, you can upload them to EchoVideo.
Article Sections
Capture Appliance (Pod or Pro)
View a list of what rooms are equipped with EchoVideo, there are 75+ classrooms with an EchoVideo Appliance (Pod or Pro).

A classroom recording being viewed inside EchoVideo's classroom player.
(click the image to enlarge)
|
Capture Appliance Records:
- All content sent through the projector
- Audio (USB microphone with directional 25 ft range)
- Pan-tilt-zoom camera installed on the side or back wall, the presenter is recorded teaching (see sample image above)
- Can be scheduled by ITS (preferred method) or faculty can manage (start, pause, or stop) the recording
- All videos are accessible by your students in Canvas
- Can record asynchronously, and synchronously (live stream)
|

At the podium you will find a document camera and microphones. Both need to be facing you as you teach. |
If projecting a guest laptop, it will be recorded.
Classroom Capture (installed on the podium)
View what Classrooms and specific rooms at SVSU have EchoVideo Lecture Capture.

Set up the Capture Details for an ad-hoc recording on the podium computer.
(click the image to enlarge)
|
Classroom Capture Records:
- Computer screen
- Audio (USB microphone with directional 25 ft range)
- NO CAMERA SUPPORT
- Document camera captured through the computer (ImageMate)
- Can be scheduled by ITS or faculty can control the recording
- All videos are accessible via Canvas
- Can record asynchronously, and synchronously (live stream)
Have a guest laptop? If using a guest laptop, you won't be able to use the classroom peripherals (mic, doc cam, or camera) you will need to hook up your own and use Universal Capture Personal.
AV Studio (record on our Lightboard or Surface Studio)
|

A video recorded in our studio using a Lightboard being viewed in EchoVideo's classroom player.
(click the image to enlarge)
|
- Lightboard: Record a video to communicate technical diagrams or content.
- Surface Studio: Record using Classroom Capture and annotate your screen content.
- Whiteboard: Record yourself standing and writing on a whiteboard (physical) via webcam. NOTE: Content won't be high quality, it may be difficult for students to see the content during playback.
In the studio, you can record class lectures in a variety of ways. Our AV Studio is well-suited for writing equations, drawing diagrams, etc; located in SE142 (
training and appointment is needed.)
Universal Capture Personal - Record on your PC or Mac
|

A recorded video with embedded polling being viewed in EchoVideo's classroom player.
(click the image to enlarge)
|
Personal Capture Records:
- Required Universal Capture software to be installed
- Entire screen
- Audio (via microphone) system audio is optional
- Webcam (optional)
- USB document camera (via software such as IPEVO)
- You control the start and stop of your recording
- You can publish the videos to your library or your course
- Can record asynchronously, and synchronously (live stream)
Personal Capture - FAQs
- How do I record with Universal Capture on my computer? Check our EchoVideo Universal Capture (UC) Personal Software: Installation Guide. Available: Windows 10 (64-bit) or Mac OS X (10.14 and higher).
- I already have Universal Capture installed on my computer. View on guide on how to record on your computer.
- Can I install Universal Capture on a Chromebook? No, Universal Capture Personal will not work on a Chromebook.
- Have a Chromebook? You can record a video with Browser Capture (see details below.)
Browser Capture - Record on any computer
Browser capture is a web-based, works online only (offline mode only works with Universal Capture Personal software). Works on your PC, Mac, Chromebook, or Netbook.
|

A preview of the Browser Capture interface with options for capturing video or audio lecture.
Learn more on recording with Browser Capture (opens a new window).
|
Browser Capture Records:
- Online only, no software to download
- Google Chrome, Microsoft Edge and Firefox.
- Entire screen, application window, or your browser tab
- Microphone
- Webcam or document camera
- Control the start and stop of your recording
- Videos publish to your Library
- Can only create asynchronous lectures.
Create a Video from a PowerPoint
How to save a PowerPoint Presentation as an MP4 and then upload your video to your EchoVideo, view the different ways below on how-to upload media to EchoVideo.
Upload Content Created Outside of EchoVideo
IMPORTANT NOTE: Uploading content
requires an EchoVideo user account. To obtain an EchoVideo user account you must attend the EchoVideo Introduction (recording lectures) workshop. It is offered a few times each semester. Register at
svsu.edu/workshops
There may be content (e.g., video, audio, or presentation) you have created in another platform/tool that you want to reuse/preserve and distribute to your students or other faculty. You can upload these materials to EchoVideo in different ways. All content added to EchoVideo will be available in your Library, which is the default location all content (recorded lectures, uploaded materials, slides, etc.). Once media is in your library, you can edit, manage, and reuse it then share your content with students by embedding in Canvas or publishing to an EchoVideo course.
Uploading Media
Important Notes on Uploading Media
- There is no third-party integration so the other platforms (Dropbox, Google Drive, OneDrive, OneDrive for Business, and Box) listed will not work. You must use My Device to upload content.
- If you are uploading content manually from a Teams Meeting learn how to set up automatic copying of your recordings to EchoVideo.
Log into EchoVideo (echo360.org)
Once logged in click the raspberry Create button, then click Upload. The upload limit is much larger than what Canvas allows, you can upload up to 20 GB.

- In the filestack window, the computer icon is selected by default.
- Click the blue document icon in the middle of the screen to select your file(s) you may choose to upload multiple files. Note: You can also drag and drop media to the File Stack window.
- Click Upload if you are uploading one file, if you are uploading multiple files click Upload more.*
* Be sure not to close the FileStack window before the blue progress bar shows the upload is complete.
Upload Media in Canvas (use the easy embed tool)
You can upload a video or audio file to a content type (e.g., Announcement, Assignment, Discussion, Quiz, Page, or Syllabus) that you want to embed a video, in the toolbar look for the plug-shaped icon.
- In the content window, click the spot on the page where you want to add the embed your media or a secure link.
- In the toolbar, click Apps (plug shaped icon) and click Echo360, or if you don't see it click "View all" then click Echo360.
- Next, click Upload Content, see sample image below.

- Navigate to the location of the video or audio file you want to upload.
- Choose the embedding options, size, autoplay, and automute.
- Choose if you are going to use the Discussion feature, you can toggle on or off.
- Then, click Embed.
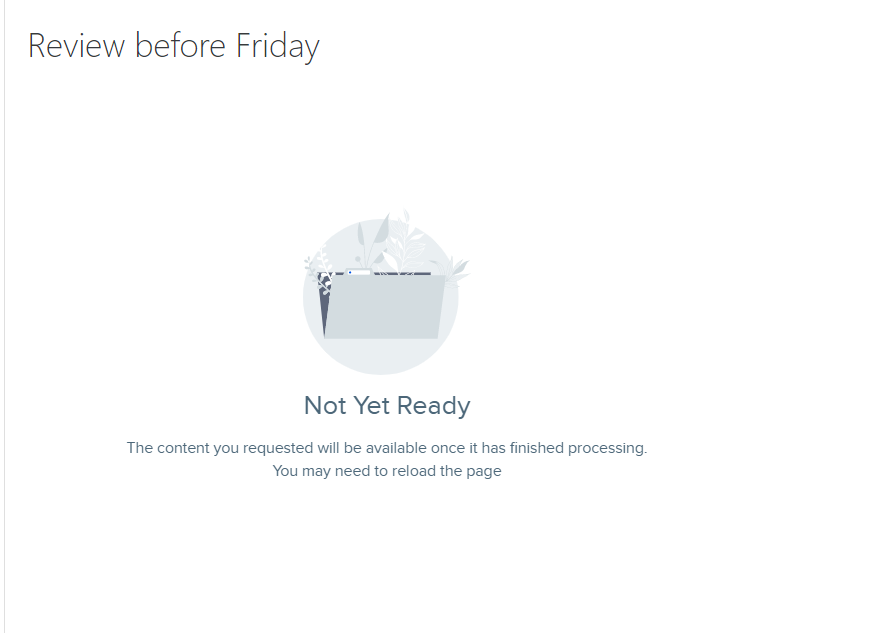
- The Preview and the published version of the newly uploaded media will likely display a message indicating that the media is currently processing, as shown in the example figure below. Once processing completes, the embedded media will appear.
Limitations of Uploading Content
IMPORTANT NOTE: There is a file size limitation of 20 GB when uploading media created outside of EchoVideo.
View the
supported content formats.
Uploading Videos using the Mobile App
The EchoVideo Mobile app is a free app an extension of the Active Learning Platform where you can view lecture recordings, upload videos recorded on your mobile device, or record a video on demand from your device.
- Upload your recording from your mobile device will import into your EchoVideo Library, you will be notified via email when the video is available. NOTE: Processing times will vary and is determined by the length of your video and where video is located on the EchoVideo server. View the article on how to upload videos through the mobile app.
- Recording on your mobile device. Record tutorials, lesson starters, or student feedback etc., just remember to keep your videos short. NOTE: The EchoVideo mobile app does not record your screen, most mobile devices come with the ability to record screen content.
Available for iOS, Android, Windows 10, Xbox One, and Amazon Kindle. The app supports video uploads in these supported formats MP4, M4V, 3GP, and AVI file formats.
Download the EchoVideo mobile app. Note: When students use the mobile app, your videos are able to be downloaded, this is the functionality of the app to allow students to learn while on the go.
Mobile app resources
Quick Guide to using the EchoVideo mobile app
Using Offline Mode in the EchoVideo mobile app
How do I share uploaded media with my students?
You can publish your media to an EchoVideo course (utilizes the Active Learning Platform fosters student engagement) or you can embed your videos in Canvas.
Share/Publish Uploaded media to Canvas